
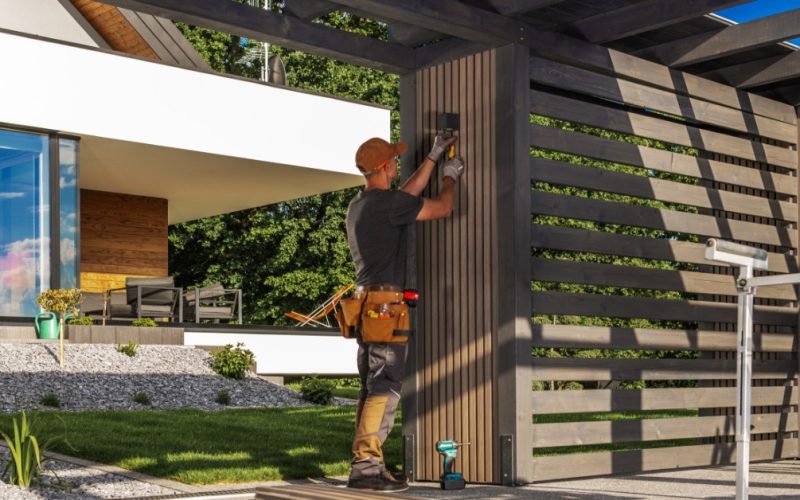
You fixed the loose railing, patched that split piece of wood, or sealed the crack that had been bothering you for months. Everything looked solid when you finished, so seeing the same problem return after winter can make you question whether the repair accomplished anything besides stealing your Saturday.
Understanding why outdoor repairs fail after one harsh season can save you from repeating the same job next year. The problem often starts with conditions you didn’t account for during the original repair, but better planning can give your work a much better chance outdoors.
Weather Keeps Testing Your Work
Outdoor repairs face more than temperature changes. Sun exposure can dry out or weaken some materials over time, while rain and changing weather conditions can repeatedly stress areas that already have small flaws.
You can’t control the forecast, but you can account for the environment when you plan the repair. A material that performs well indoors may not hold up the same way when it spends months exposed to sun, moisture, and shifting outdoor conditions.
Movement Can Stress a Solid Repair
Many materials expand when temperatures rise and contract when they fall. If the repaired area and the material holding it together respond differently, repeated movement can put stress along the bond.
You might not notice anything immediately because the damage can begin on a small scale. Once a gap develops, moisture can work its way inside and put the repair under more stress.
Moisture Finds Small Weak Points
Rain doesn’t need a dramatic opening to cause trouble. Water can enter tiny gaps around a repair, especially when the surrounding surface already has cracks or deteriorated edges.
Cold weather can make that problem worse in climates where trapped water freezes. As trapped water freezes and expands, it can put additional pressure on an existing crack and make the opening larger.
Damp Materials Create Problems Early
Sometimes moisture causes trouble before you’ve finished the repair. If you try to bond or coat a damp surface with a product that requires a dry substrate, you may compromise adhesion from the beginning.
Give the area enough time to dry under suitable conditions rather than relying only on appearance. Wood and other porous materials can retain moisture below a surface that looks dry to you.
Surface Preparation Deserves More Attention
It’s tempting to treat preparation as the boring part you rush through so you can get to the actual repair. Skipping it can turn a repair into a job you’re doing all over again next spring.
Dirt can keep a repair material from bonding directly to the surface underneath. Loose paint, corrosion, grease, or deteriorated material can create a similarly unreliable foundation.
For many repairs, proper preparation means:
- Removing loose or deteriorated material from the repair area
- Cleaning away contaminants that could interfere with adhesion
- Following the repair product’s instructions for sanding or surface profiling
- Confirming that the surface meets moisture and temperature requirements
You don’t need to attack every project with a grinder just because surface preparation matters. You simply need to prepare the specific surface according to the requirements of the material you plan to apply.
Your Repair Material Has to Match the Job
You can execute a repair carefully and still run into trouble if you choose a material that doesn’t suit the application. Outdoor exposure raises the stakes because the repair has to withstand conditions you wouldn’t encounter indoors.
When you’re using epoxy, for example, think beyond whether the product can bond two surfaces together. You’ll want to choose the right epoxy for your project based on the materials you’re repairing and the conditions the finished repair will face.
Those differences matter when you move from one type of repair to another. Filling damaged wood doesn’t necessarily create the same demands as bonding metal or repairing a surface that regularly encounters water.
Curing Conditions Can Change the Outcome
Finishing the application doesn’t mean you’ve finished the repair. Many products need specific curing conditions to develop their intended properties, so rushing that stage can undermine the work you just completed.
Pay attention to the manufacturer’s instructions for temperature and cure time. If bad weather arrives too soon, your repair may face its first major test before the material has fully cured.
Working Time Isn’t the Same as Cure Time
These terms can trip you up when you’re eager to finish a project. Working time generally describes the period when you can still apply or adjust a mixed product. Cure time refers to the longer period the material needs to harden and develop its intended properties.
Don’t assume a repair can handle normal exposure simply because the surface no longer seems wet or tacky. Follow the specified cure schedule rather than poking the surface, deciding it seems solid, and calling it good.
Old Damage Can Extend Beyond What You See
Sometimes outdoor repairs fail after one harsh season because the original problem went deeper than the visible damage. A cracked exterior surface may catch your attention while deterioration continues farther into the material.
Take time to inspect the surrounding area instead of concentrating only on the most obvious defect. If nearby wood crumbles under light pressure or corrosion extends beyond the visible spot, covering the surface won’t address the larger problem.
You may notice a crack on the surface while deterioration extends deeper into the material. In more difficult situations, replacing the affected component can make more sense than trying to preserve something that no longer provides a reliable foundation.
Maintenance Doesn’t End After the Repair
A successful repair shouldn’t require constant babysitting, but outdoor projects benefit from an occasional inspection. The goal is to catch small changes before they become the same headache you thought you fixed the year before.
Check repaired areas after harsh weather, especially when the surrounding material already shows signs of age. Catching a developing gap early may give you an opportunity to address the underlying cause while the problem remains manageable.
The next time an outdoor repair lands on your weekend schedule, spend a little more time figuring out why the damage developed in the first place. You may still lose part of your weekend, but at least you’ll have a better shot at keeping the same project off next year’s to-do list.